Solar Lighting Blog & News
Latest news, technical guides, and expert perspectives on smart solar street lights, off-grid infrastructure, and clean energy technology.
Choosing an Off-Grid Solar Street Pole involves more than selecting a bright lamp. It requires careful attention to sunlight, battery capacity, pole strength, lighting coverage, and maintenance access. A system may perform well in a showroom but struggle beside a shaded road. Real site conditions matter.
This guide introduces seven practical tips for making a more dependable choice. It examines solar panel efficiency, battery chemistry, LED performance, controller quality, installation height, weather resistance, and long-term service needs. Experienced installers usually begin with local sunlight data, seasonal weather patterns, and the required lighting hours. They also inspect nearby trees, buildings, traffic areas, and soil conditions before recommending equipment.
Small details can change results. A dusty panel may reduce charging. An undersized battery may leave a road dark before sunrise. Weak pole materials can create safety concerns during strong winds. These issues are easy to overlook. They should not be.
Reliable decisions should come from technical specifications, tested components, clear warranties, and realistic performance claims. However, no design is perfect. Unexpected rain, shading, vandalism, or changing traffic patterns can affect results. Allowing room for review is wise. The best Off-Grid Solar Street Pole balances illumination, durability, energy independence, and practical maintenance. This article offers a clear framework for comparing options without relying on attractive advertising alone.
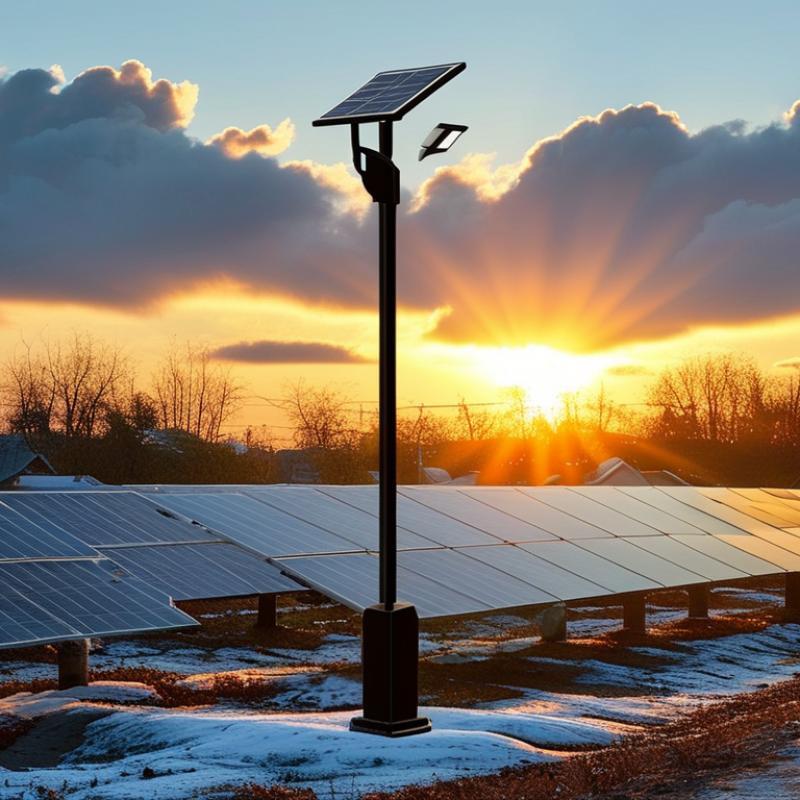
Define the Site’s Solar, Weather, and Lighting Requirements
Before choosing an off-grid solar street pole, define the site instead of trusting a catalog rating. Record sunlight across seasons, not only on a clear afternoon. Check shade from buildings, trees, cables, and planned construction. A pole shaded in winter may produce much less energy than its annual average suggests. Use a solar assessment tool, then verify its findings with an on-site observation. Small errors matter.
Weather conditions deserve equal attention. Measure winter temperatures, rainfall, wind exposure, dust, and salt near coastal areas. These factors affect panel output, battery performance, enclosure protection, and pole stability. Confirm the soil condition before selecting the foundation. Soft or waterlogged ground can create problems later. It is easy to underestimate wind. That mistake can be expensive.
Lighting requirements should be written in practical terms. Identify road width, pedestrian movement, operating hours, and areas needing stronger illumination. Decide whether the light must remain steady all night or dim during quiet periods. Check glare, mounting height, spacing, and nearby homes. Follow applicable local lighting requirements and use measurable targets, such as illuminance and uniformity. A conservative design is often safer, but it may increase cost. Field conditions rarely match the first spreadsheet. Recheck the assumptions before approving the pole size, battery capacity, and solar panel area.
7 Tips for Choosing an Off Grid Solar Street Pole? - Define the Site’s Solar, Weather, and Lighting Requirements
| No. | Site Requirement | What to Assess | Practical Design Target | Recommended Selection Guidance | Common Risk if Ignored |
|---|---|---|---|---|---|
| 1 | Solar Resource | Review the site’s peak sun hours, seasonal solar variation, shading from trees or buildings, and panel orientation. | Use the lowest seasonal solar resource rather than the annual average. A preliminary design commonly allows about 3–5 peak sun hours per day, subject to local data. | Choose adequate panel wattage and install the panel with an unobstructed solar path. In the Northern Hemisphere, face the panel generally toward the south; reverse this guidance in the Southern Hemisphere. | Insufficient charging, shortened nighttime runtime, and frequent low-voltage shutdowns during winter or cloudy periods. |
| 2 | Required Lighting Level | Identify the road type, pedestrian activity, traffic speed, conflict areas, safety needs, and local lighting regulations. | Define the required average illuminance, uniformity, operating hours, and dimming schedule before sizing the system. | For low-traffic paths, approximately 5–10 lux may be suitable; local roads often require roughly 10–20 lux or more. Confirm the final values with applicable roadway standards and a lighting calculation. | Over-lighting wastes stored energy, while under-lighting creates dark spots, poor visibility, and possible compliance issues. |
| 3 | Nightly Energy Load | Calculate LED power, operating hours, dimming periods, controller losses, battery charging losses, and cable losses. | Estimate daily energy using: Daily load (Wh) = LED power (W) × operating hours + system losses. Add a reasonable design margin, commonly 15–30%. | A 30 W lamp operating for 12 hours uses 360 Wh before losses. With a 25% allowance, the design load is about 450 Wh per night. | An underestimated load drains the battery too deeply and prevents the system from meeting its promised lighting schedule. |
| 4 | Autonomy and Battery Capacity | Determine how many consecutive cloudy nights the light must operate and consider usable battery depth, temperature, and aging. | Many sites specify 2–5 nights of autonomy. Battery capacity can be estimated from: Capacity (Wh) = nightly load × autonomy ÷ usable depth of discharge. | For a 450 Wh nightly load, 3 nights of autonomy, and 80% usable capacity, the nominal battery requirement is approximately 1,688 Wh before temperature and aging adjustments. | The light may turn off before dawn after several cloudy days, especially when the battery is cold or near the end of its service life. |
| 5 | Weather and Temperature | Check ambient temperature range, rainfall, snow, humidity, salt exposure, dust, flooding, and wind conditions. | Select outdoor-rated enclosures and components. Use corrosion-resistant materials and account for reduced battery performance in low temperatures. | For exposed areas, use sealed outdoor housings, appropriate ingress protection, UV-resistant cables, drainage provisions, and a corrosion-resistant pole or protective coating. | Water ingress, corrosion, cracked components, frozen batteries, and reduced output can increase maintenance and cause premature failure. |
| 6 | Wind, Pole, and Foundation | Assess basic wind speed, terrain exposure, panel area, pole height, soil conditions, and the risk of impact or vibration. | Have the pole, bracket, fasteners, and foundation checked for local structural and wind-load requirements rather than relying only on nominal pole height. | Use a site-specific structural calculation for coastal, mountainous, hurricane-prone, or highly exposed locations. Verify foundation depth and soil bearing capacity. | Panel damage, pole tilting, excessive vibration, foundation movement, or complete structural failure during severe weather. |
| 7 | Controls, Safety, and Maintenance | Define dusk-to-dawn control, dimming, motion sensing, remote monitoring, theft protection, inspection access, and replacement procedures. | Use automatic light control, protected wiring, battery management, surge protection where appropriate, and a planned inspection interval. | Schedule periodic panel cleaning and visual inspections, keep vegetation from causing shade, check fasteners and corrosion, and plan battery replacement based on actual operating conditions. | Unexpected outages, difficult repairs, reduced solar charging, battery damage, or higher total ownership cost. |
FAQS
Match the height to road width, lamp beam angle, and pole spacing. A 6-meter pole may suit a narrow lane. Wider roads may need greater mounting height. Measure the road. Excessive height can increase wind loading and create dark edges.
Hot-dip galvanized steel provides strong support and corrosion protection when properly treated. Aluminum is lighter, but its joints need careful engineering. Coastal areas require resistant fasteners and protective coatings. Small details matter.
They can, but check galvanic corrosion risks first. Unplanned metal combinations may weaken connections over time. Inspect fasteners and contact points carefully.
Review the base plate, anchor bolts, arm, battery enclosure, and foundation. The design must suit local wind speeds, soil conditions, panel weight, and service loads. A thicker pole is not automatically safer. Poor foundations can still cause tilting.
Technicians should reach both without complicated equipment or unsafe climbing. Leave clearance around access doors and cable routes. Keep the battery enclosure secure, ventilated, and reachable. Test access physically.
Look for dusk-to-dawn operation, battery protection, adjustable dimming, and clear fault indicators. Motion sensors can increase brightness near pedestrians. Settings should be changeable through a small access panel. Easy access matters.
Confirm wind ratings, foundation dimensions, soil requirements, panel direction, and cable protection. Nearby trees may cast long winter shadows. Use water-resistant cable glands and protect buried cables from crushing and rodents. Measurements beat assumptions.
Inspect the panel for dust, bird deposits, cracks, and loose fasteners. Check battery voltage, terminal corrosion, enclosure seals, and controller records. Keep a maintenance log. Missed inspections often explain “unexpected” failures.
Use overcurrent protection, thermal safeguards, stable footing, and a lockable service compartment. Check grounding, bolt torque, and panel angles after installation. Prevent glare toward nearby homes and traffic sightlines. A high protection rating does not replace proper installation.
Conclusion
Choosing the right Off-Grid Solar Street Pole requires more than comparing panel sizes or lamp brightness. Begin by assessing the installation site, including daily sunlight, seasonal weather, wind exposure, soil conditions, traffic patterns, and the required lighting level. These factors help determine the appropriate pole height, material, foundation, structural strength, and corrosion resistance. The solar panel, battery, and LED light should also be matched carefully so the system can provide dependable illumination throughout the night, including during cloudy or rainy periods.
It is equally important to evaluate practical features such as automatic controls, motion or dimming functions, installation requirements, battery accessibility, maintenance intervals, and protection against electrical or environmental risks. When comparing options, consider the complete ownership cost rather than only the purchase price. A reliable system with efficient components, durable construction, clear warranty terms, replacement support, and responsive technical service can reduce long-term maintenance expenses and improve performance. A well-planned selection will provide safe, consistent lighting with minimal dependence on grid infrastructure.